
Are you one of them who are suffering from recurrent sport injuries, bouts of crippling back pain or inflammation due to allergies and swollen legs? Then you are no stranger to use cold compress for pain relief.
A cold compress is best and natural remedy for treating many types of simple pains in your body, as it constricts your blood vessels and lowers circulation. This helps in stopping over flow of blood in case of severe injury. It also numbs your skin tissues to reduce swelling and inflammation and limit the formation of bruising.
However, they are many gel and cold packs available in the market, you don’t necessarily need to spend lots of money on it to get relief from your pain.
You can simply use the following simple DIY cold compress methods and enjoy its benefits too. All the below methods are very easy to do and can be stored in the freezer for longer time.
How To Prepare Cold Compress Easily At Home
The following methods will help you to make a cold compress easily by sitting at your home.
1. Ice pack
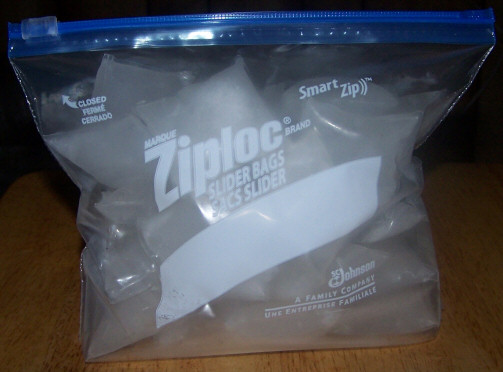
(image Source: www.rebelcircus.com)
Ice pack is one of the simplest and easy ways to prepare cold compress. It only takes 5 minutes by using ice cubes.
What You Need To Do
- Take one plastic bag and fill it with handful of ice cubes.
- Run a wash cloth under cold water and wrap it around the plastic bag of ice.
- Use it a as a cold compress on the affected area it get relief from pain.
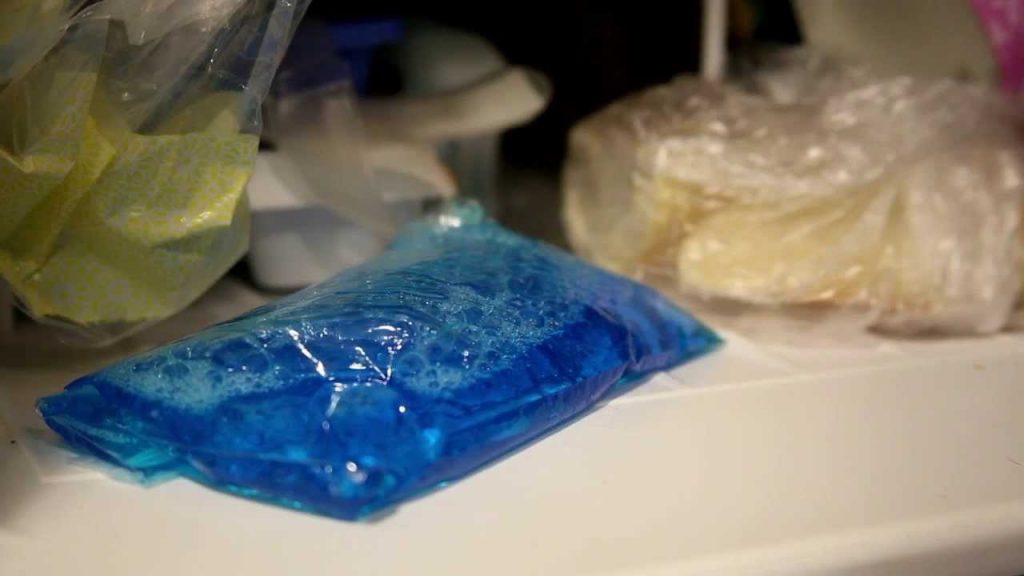
2. Rubbing Alcohol Cold Compress
Rubbing alcohol is also used as cold compress because it helps to change the freezing point of water. This compress is usually helpful when you need to apply it on various parts of the body.
What You Need To Do
- Take a bowl and mix 11/2 cup of water with ½ cup of rubbing alcohol.
- Take a zip lock bag and fill it with rubbing alcohol mixture.
- Seal the bag and put it in freezer for overnight or several hours.
- Place a cloth between your skin and the gel pack while applying it on affected area.
3. Salt Compress
Salt acts more effective when it combines with cold water. Adding salt to the water keeps its freezing point for longer time and makes the ice pack more flexible in nature.
What You Need To Do
- Take 2 cups of water and add 2 table spoons of salt in it.
- Wait until it dissolves completely and fill a zip lock bag with this water.
- Seal it and put this bag in freezer for overnight or for several hours.
- Use this pack by wrapping a wash cloth around it and apply it on the affected area.
4. Dish Soap Compress
(Image Source: www.youtube.com)
Dish soap cold compress is very flexible in nature and allows you to mold it according affected body part. This is the reason it is more effective in reducing swelling and pain.
What You Need To Do
- Take ½ cup of liquid dish soap and pour it in sealable plastic bag.
- Pit it in freezer for several hours and then take it out the liquid dish soap which turned in to gel like consistency.
- Use this cold compress by placing a wash cloth in between the pack and your skin.
- Never place cold compress directly on your skin.
5. Towel Compress

(Image Source: www.thecrazycoupenlady.com)
You can even use towel for cold compress. A wet towel is more comfortable to use especially on sensitive areas of your body like eyes.
What You Need To Do
- Take a small and smooth towel and damp it in cold water.
- Squeeze the excess water from it and place it in sealable plastic bag.
- Now, put the bag in freezer for few hours.
- Remove it and use it as a cold compress to get relief from pain.
6. Sponge Compress
Freezing water soaked sponge is another simple and cheap way to make reusable cold compress at your home. Especially kitchen sponges are very flexible and comfortable to make perfect ice pack.
What You Need To Do
- Fill a large bowl with water and immerse the sponge. Make sure it is submerged completely beneath the water.
- Allow it to soak for 20-30 minutes and remove it from the bowl.
- Carefully place it in sealable plastic bag and make sure it is sealed properly.
- Place it in freezer for few hours.
- Your cold compress is ready to use.
7. Rice Compress

(Image Source: www.thriftyfun.com)
Cold compress using rice is very easy and simple to use. Whereas, uncooked rice is common household ingredient.
What You Need To Do
- Take an old sock and fill it with raw rice, then knot the socks at the end to make sealed rice bag.
- Place this sealed rice bag in freezer and leave it for 3-4 hours.
- Take this chilled rice bag and you can directly apply it on the injured areas or wrenched joints.