Skin whitening or lightening can be a very complex thing for many people, especially if there is no natural solution to it. Having dark skin naturally is surely not a big deal, and you should grow with this understanding that you are born different, and darkness is not always a bad thing whatsoever.
However, abnormal or unnatural discoloration or darkness of skin is an issue, and you should look for some effective, at the same time, safe options. And white vinegar for skin whitening can be that ultimate answer to all your queries related to your skin’s abnormal, progressive darkness.
Isn’t it very easy to find a bottle of white vinegar? You can find it in almost every kitchen! But very few people know that in addition to being a great flavor enhancer, white vinegar can be a blessing for skin! From getting rid of unpleasant body odor to bringing back the natural glow, it can singlehandedly solve dozens of skin problems. This article will discuss how a common kitchen ingredient can be an important part of your beauty regimen. Let’s find out.
Why should you use white vinegar for skin?
Your skin’s pH is the game-changer you seldom understand. pH plays many different and important roles to keep your skin healthy, attractive, and vibrant. A disbalance in pH level can invite a plethora of skin problems like acne, dryness, flakiness, and itching of the skin. Compared to those commercial soaps and face washes that are packed with harmful chemicals and preservatives, white vinegar for skin whitening is a much better and safer way to bring your skin to life again.
What are the benefits of white vinegar for the skin?
- Thanks to its antifungal and antibacterial properties, white vinegar can eliminate harmful bacteria from your skin and is capable enough to protect from acne and blemishes.
- White vinegar is a great source of hydroxy acids and can remove dead cells from skin layers, thus improving age-induced spots.
- In addition to maintaining the pH level and avoiding excessive dryness or oiliness, white vinegar works as a pore cleanser.
- It can be very effective in delaying the appearance of fine lines and wrinkles.
- If you apply white vinegar to your face, it can make your face radiant and youthful by removing toxins.
In short, there are multiple skin benefits of white vinegar, and you should not be worried about its safety until it is used in diluted form.
What are the possible causes of abnormal discoloration of skin?
It can be tricky to underline the exact cause, as it can be completely different in different people. However, there are some common causes of abnormal skin darkness, and they are:
- UV Rays: One of the most common factors directly affecting melanin.
- Melasma: It causes tanned patches on the skin, common in cases of hormonal imbalances, and is frequently noticed in pregnant women.
- Post-inflammatory hyperpigmentation: You may have dark skin patches after suffering from an injury, psoriasis, eczema, rosacea, acne, etc.
- Aging: One of the biggest responsible factors and should not be taken very seriously.
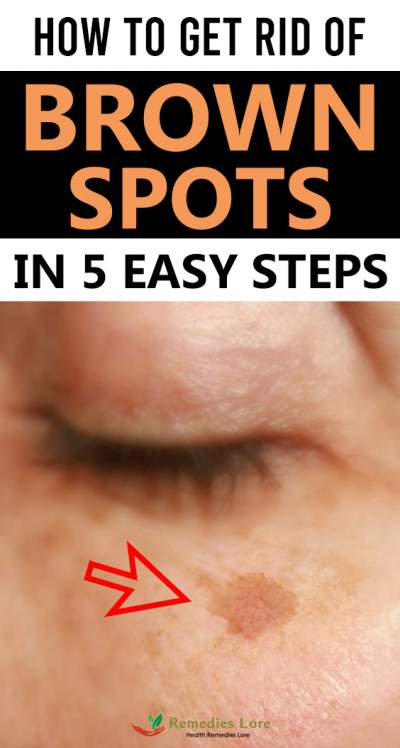
Also Read: Simple Trick To Remove Brown Spots From Your Skin
Some important tips and tricks with recipes
Go through these recipes carefully, as we have scribbled different ones for different causative factors and conditions. Let’s don’t waste any time and finally know how to use white vinegar for skin whitening.
1. White vinegar is a skin cleanser
We have already talked about various skin benefits of white vinegar. And you can use it as a powerful skin cleanser as well. Here is how
Ingredients:
- 1 cup each of white vinegar and water
- The essential oil of your choice
- Cotton balls
Procedure:
- Add one cup of diluted white vinegar to an equal amount of water.
- Add a few drops of essential oil of your choice for a pleasant smell.
- Mix well and apply gently on affected parts using a cotton ball.
- Follow these steps frequently for great results.
2. Home-mode moisturizer
If you want to use white vinegar for face whitening, this recipe is the way to go. Dryness of skin can also be responsible for discoloration of the skin; diluted vinegar can be a great moisturizer. You should use this moisturizer, especially if you have flareups due to different skin conditions.
Here is what you need:
- One tbsp. diluted vinegar
- ½ tbsp. honey
- 30 ml lukewarm water
Here is how to make and use the moisturizer
- Add white vinegar and honey to water and mix thoroughly.
- Wash your face with cold water.
- Apply on your face with both palms, and leave overnight.
- You will start noticing the result after a couple of weeks.
3. White vinegar with aloe vera
Who’s not aware of the amazing skin benefits of aloe vera? It is packed with anti-microbial and anti-inflammatory properties and can be amazingly effective if used with white vinegar for skin whitening. Let’s find out how to combine and use them perfectly.
Ingredients:
- 2 tbsp. freshly extracted aloe vera juice.
- 2 tbsp. diluted white vinegar.
Recipe:
- Add two tbsp. each of aloe vera juice and white vinegar.
- Adjust the quantity according to the area affected by discoloration or improper tonicity.
- Mix both ingredients continuously until you get lotion-like consistency.
- Now, apply on the affected skin.
- Prefer following these steps every night before going to bed.
- The results will start following after a few weeks.
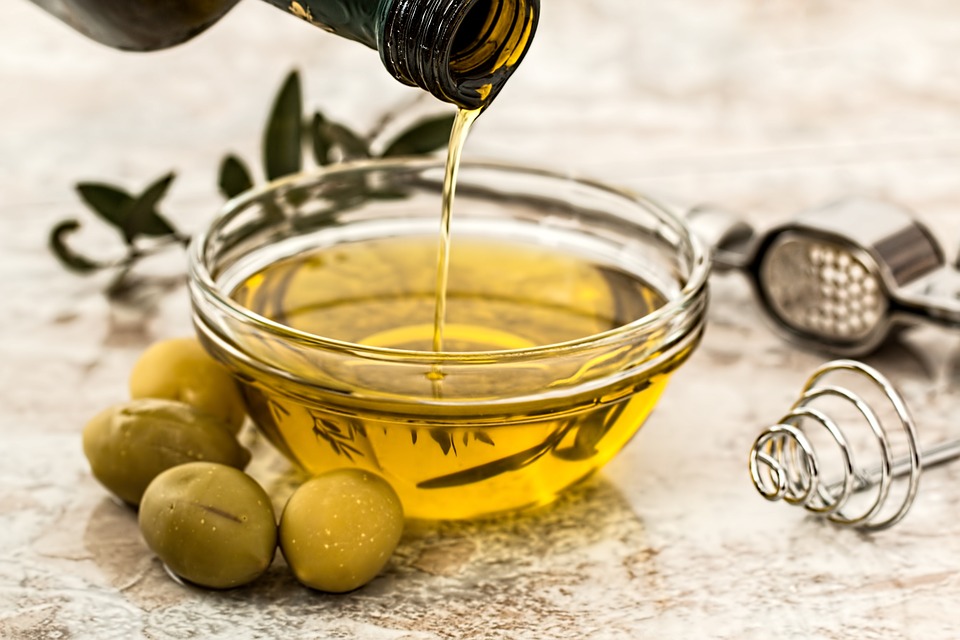
4. White vinegar with olive oil
Olive oil is surely one of the most extraordinary ingredients for a variety of skin problems. It is known for its anti-inflammatory and anti-oxidative properties and can decently complement your efforts to get rid of abnormally discolored skin. And it will only favor the surprising skin benefits of white vinegar. Here is how
What you need:
- 2 tbsp. each of diluted white vinegar and virgin olive oil
Steps to follow:
- Mix both the ingredients thoroughly.
- Apply on the dark skin areas and leave for a few hours.
- Wash very gently with lukewarm water and apply a natural moisturizer, as we have discussed above.
- You will see dark patches go away within the first few weeks.
5. White vinegar with glycerine:
If discoloration is accompanied by dryness, you can use white vinegar for skin whitening with glycerine as well. It is one of the most effective skin moisturizers out there and can perform great cleansing work and moisturizing, especially if mixed with white vinegar.
Ingredients you need:
- 1 tbsp. diluted white vinegar
- 2 tbsp. glycerine
- Cotton balls
What to do:
- Mix both white vinegar and glycerine, and mix for a few seconds.
- Apply on the dark spots using cotton balls and leave for about an hour.
- Wash with lukewarm water and pat dry.
- Repeat these steps regularly for a few weeks and see the results.
6. White vinegar with strawberries
Strawberries can increase the effectiveness of vinegar to another level, especially if you aim to use white vinegar for face whitening. They are packed with vitamin C and folic acid and can favor the process of cell generation. In addition, strawberry can help in the synthesis of collagen, removing harmful toxins from the skin. The absorbing capacity of white vinegar will make it easier for a strawberry to work on your skin pores and get rid of tissue-damaging factors like blackheads.
You will need:
- Two ripe, fresh strawberries
- One tbsp. diluted white vinegar
Method:
- Mash the strawberries to get a thick and smooth paste.
- Add vinegar and blend for a couple of minutes.
- Apply the paste on dark or saggy skin.
- Massage in a circular motion for a few minutes and then wash off.
- Repeat once a week for desired results.
Some Important Points to Remember
Yes, there is no doubt about the effectiveness of white vinegar for skin whitening. But we recommend you to keep these points in mind while using it for the skin.
- Always use diluted vinegar only, as you may develop a burning sensation.
- Don’t forget to perform a patch test before using white vinegar or any other such ingredient. If you feel irritation or burning, avoid using it.
- Don’t use strong soaps or perfumes before or after using white vinegar to avoid possible skin irritation.
- If you have skin problems for a long time, talk to a dermatologist for proper and specific treatment.
- Avoid using vinegar if you are already using some medicines prescribed by a qualified doctor.
- Whether you want to use white vinegar for skin whitening or any other purpose, get only organic for better results.
- NEVER apply white vinegar or any other untested substance if you get your skin burn. Take immediate medical advice for proper treatment.
White vinegar can be a quick as well as affordable solution to abnormal skin darkness. And if you use it with caution, you will get the desired results. Follow these tricks keeping other important points in mind, and let us know, which one helped you more. Stay healthy, beautiful, and safe.
References:
https://www.stylecraze.com/articles/10-ways-to-use-vinegar-for-your-skin/
https://www.skindiseaseremedies.com/white-vinegar-for-skin-whitening/